Scanning Slides with the Epson V700
A few short notes about scanning with the V700. First of all, it's a great scanner. I did the research and it's the best flatbed scanner out there, and - according to the salesman at the Pro Photo Supply in Portland, it's the reason why the Nikon film scanners were discontinued.
I bought it for the purpose of archiving my collection of slides that range from 1970 to 2000. So yes, some are over 40 years old.
My purpose is not so much to 'archive for posterity' as it is to scan and archive for potential digital use such as printing or blogging.
I use two different scanning software: EPSON Scan, which came with the scanner, and SilverFast 8. SilverFast has many different versions and it is very confusing to tell the difference between them, but I think SF 8 is the best for most purposes; the added features of the 'higher' versions are a bit esoteric. Also, for the most part, you want to do a basic "non-destructive" scan, then do any post-scan editing in Photoshop or Lightroom.
So let's cut to the chase.
EPSON Scan is the best for overall quick-archiving. The interface is clean, simple and allows for a repetitive batch workflow. It also has "most" of the basic settings that you will need to get the most out of your scanner.
EPSON Scan SoftwareSettings
- Scan 24-bit. There's no difference between 24 - and 48-bit except it doubles your file size.
- Scan to 2400 dpi. You can scan to 4800 or higher, but again it won't make any difference. You won't be able to make a larger print with 4800 than with 2400.
- Save to TIFF. Always. It's lossless. JPEG is just for quick scans to send to someone by email - but you can quick-save any TIFF file to small-res JPEG from within Photoshop or Adobe Lightroom.
- Don't use any of the multi-scan HDR settings for deepening your contrast. They just tend to show artifacts in the originals. Instead, use Photoshop's HDR tool.
- Do use the various scratch and dust removal settings. Photoshop and Lightroom both have tools for this, but you have to spend a fair amount of time in each photo so unless you are planning on publishing each and every scan, you can save a LOT of time by having the scanning software do this for you. See separate comment below.
- Do use "Restore Color" but use it judicioiusly. This too can save you a lot of time. Both PS and LR have "auto tone" features but I find that EPSON's "Restore color" tends to get the Tone and White Balance pretty well. If you are just focused on archiving, then you can ignore this. If you are scanning a specific slide for professional use, don't even use this. Go get it scanned with a drum scanner.
- I use the 12-slide holder, and do a quick preview of each slide. For the most part, I have all the settings the same but I will make some changes for individual pictures, particularly the degree of dust/scratch removal. Then, you can just hit the "scan" button and it does everything for you. Go do something else!
About Dust and Scratch Reduction
- Look at the slides first with a normal loupe. Any that have tons of dust, I make a note of.
- Pre-scan using the Epson software.
- In the preview window, I go through each slide in "large preview" one by one.
- I apply "Digital ICE" to the slides that are really bad, if they don't have lots of small faces in them.
- I apply "Dust Removal -> High or Medium" for all of the others.
- I look at the scans afterwards. If the artifacting was too high on the Digital ICE ones, then I'll re-scan those in SilverFast 8 using their iSRD setting. The best way to use this is to do a full-size pre-scan (which takes several minutes!) then adjust the iSRD ultraviolet capture settings manually for each picture. This is a real pain but it works pretty well on photos that fail the Epson settings.
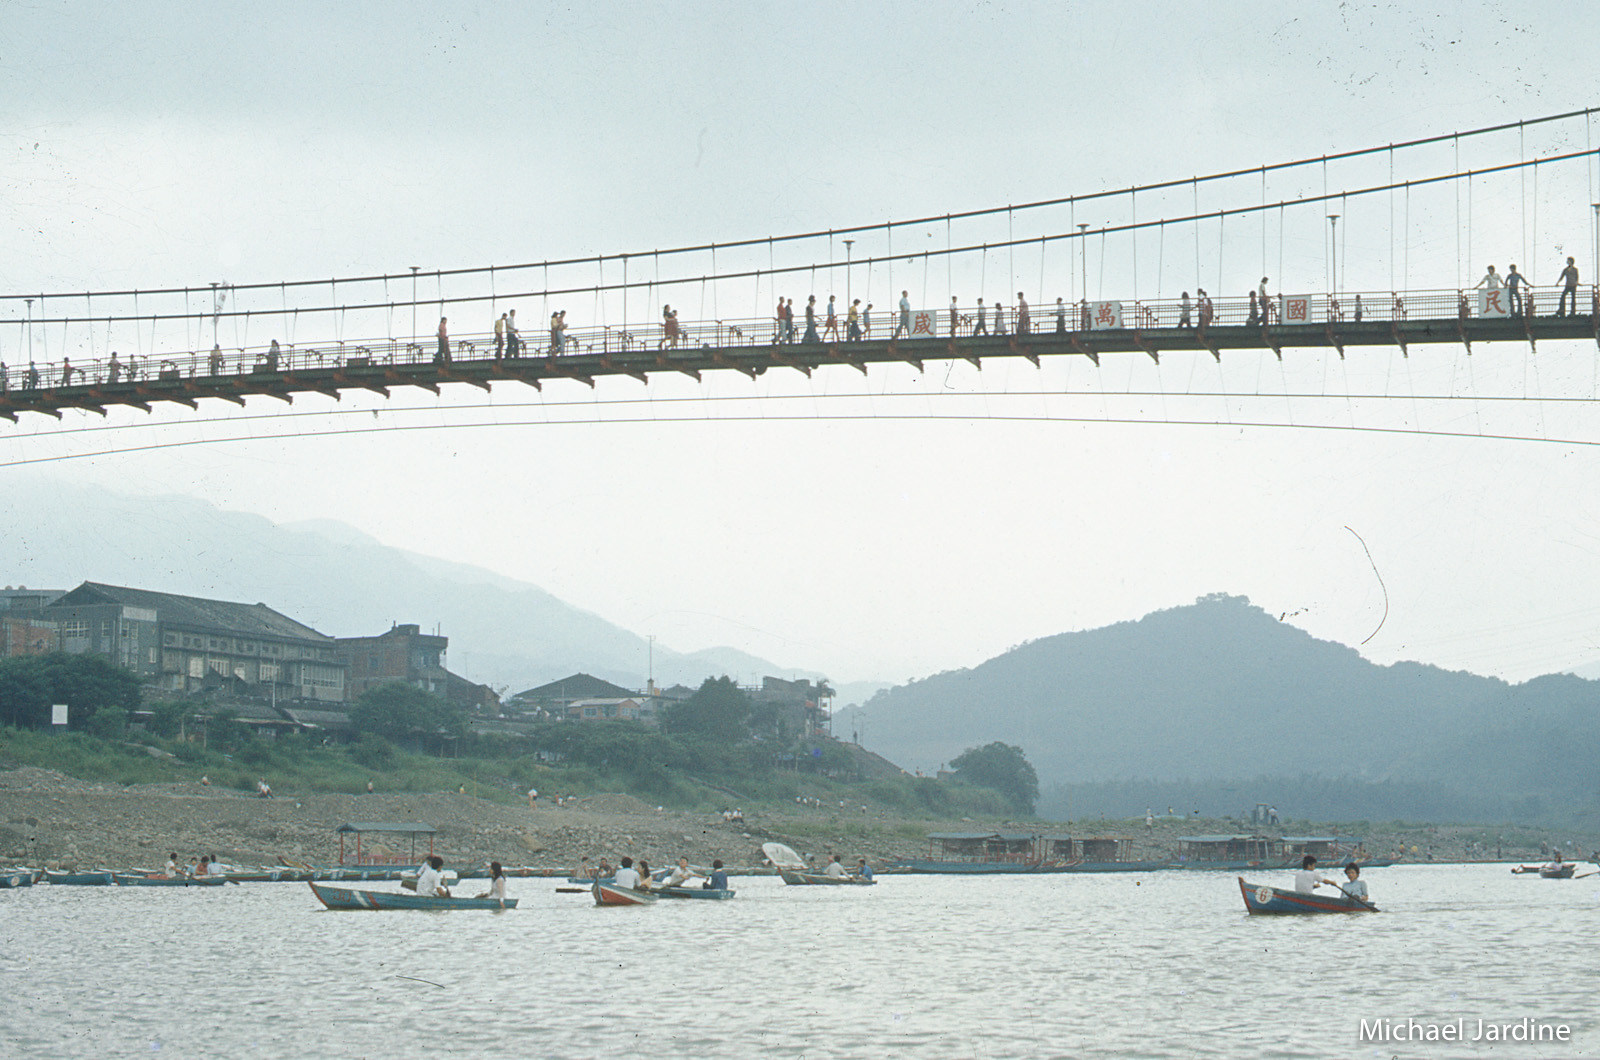
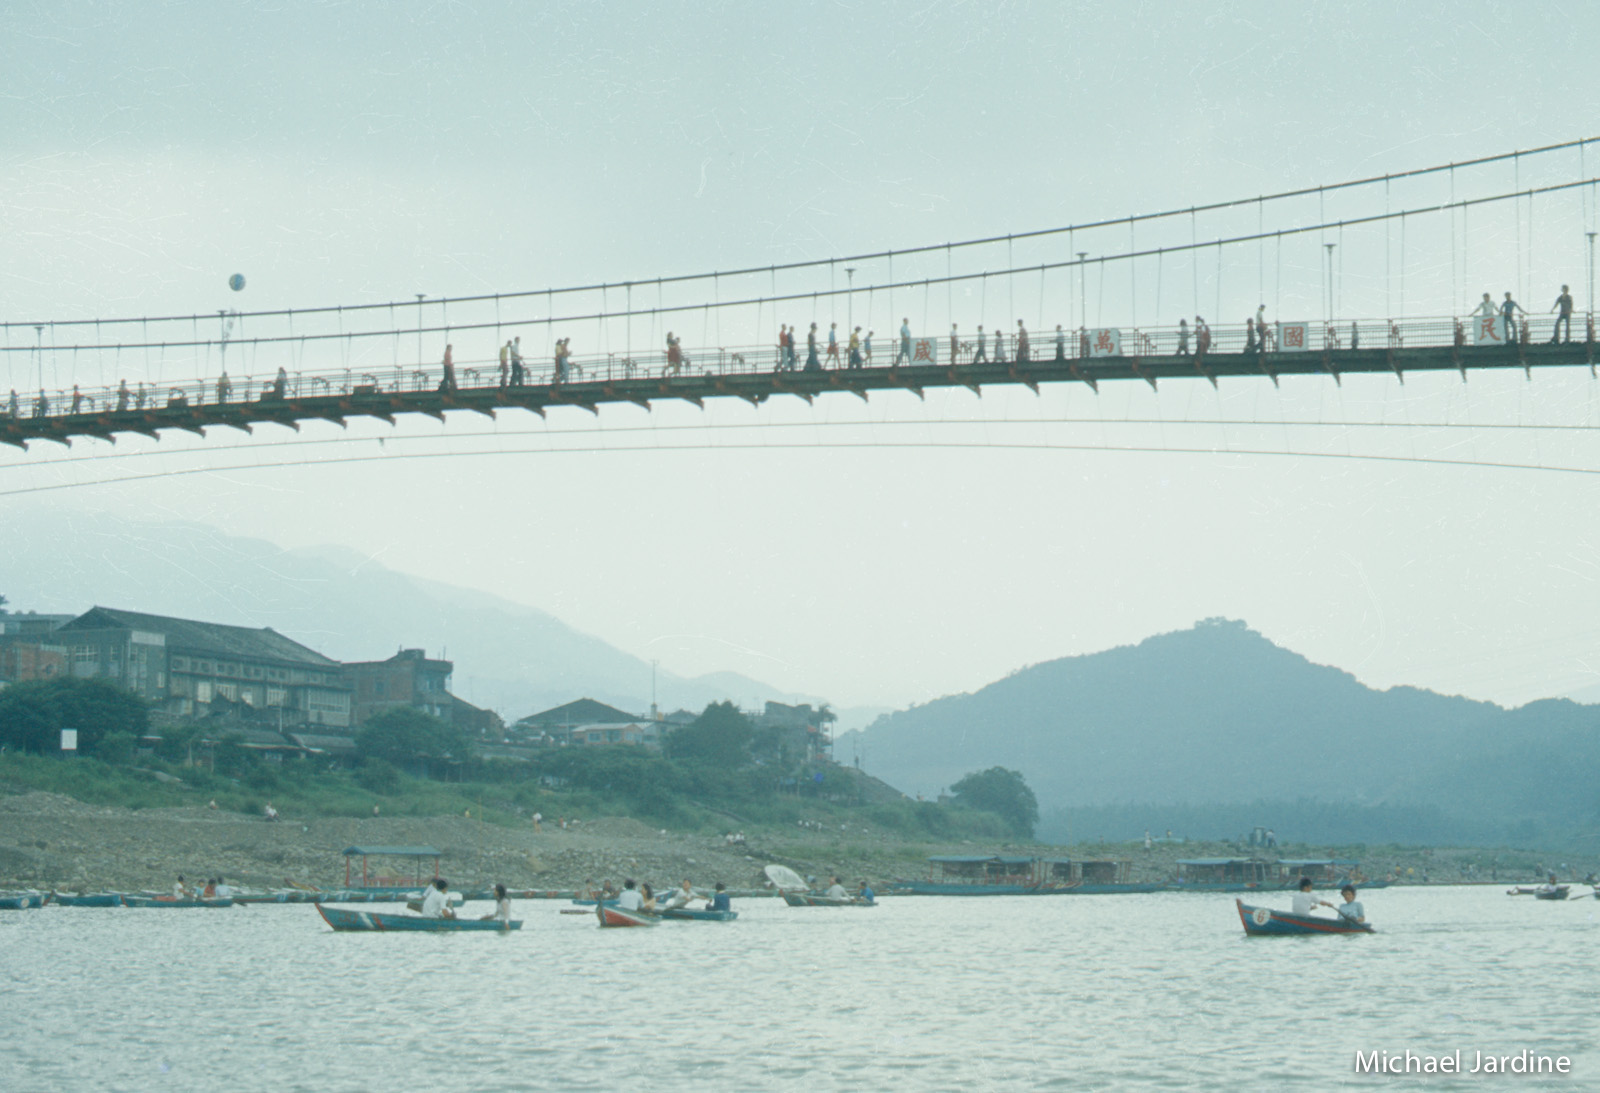
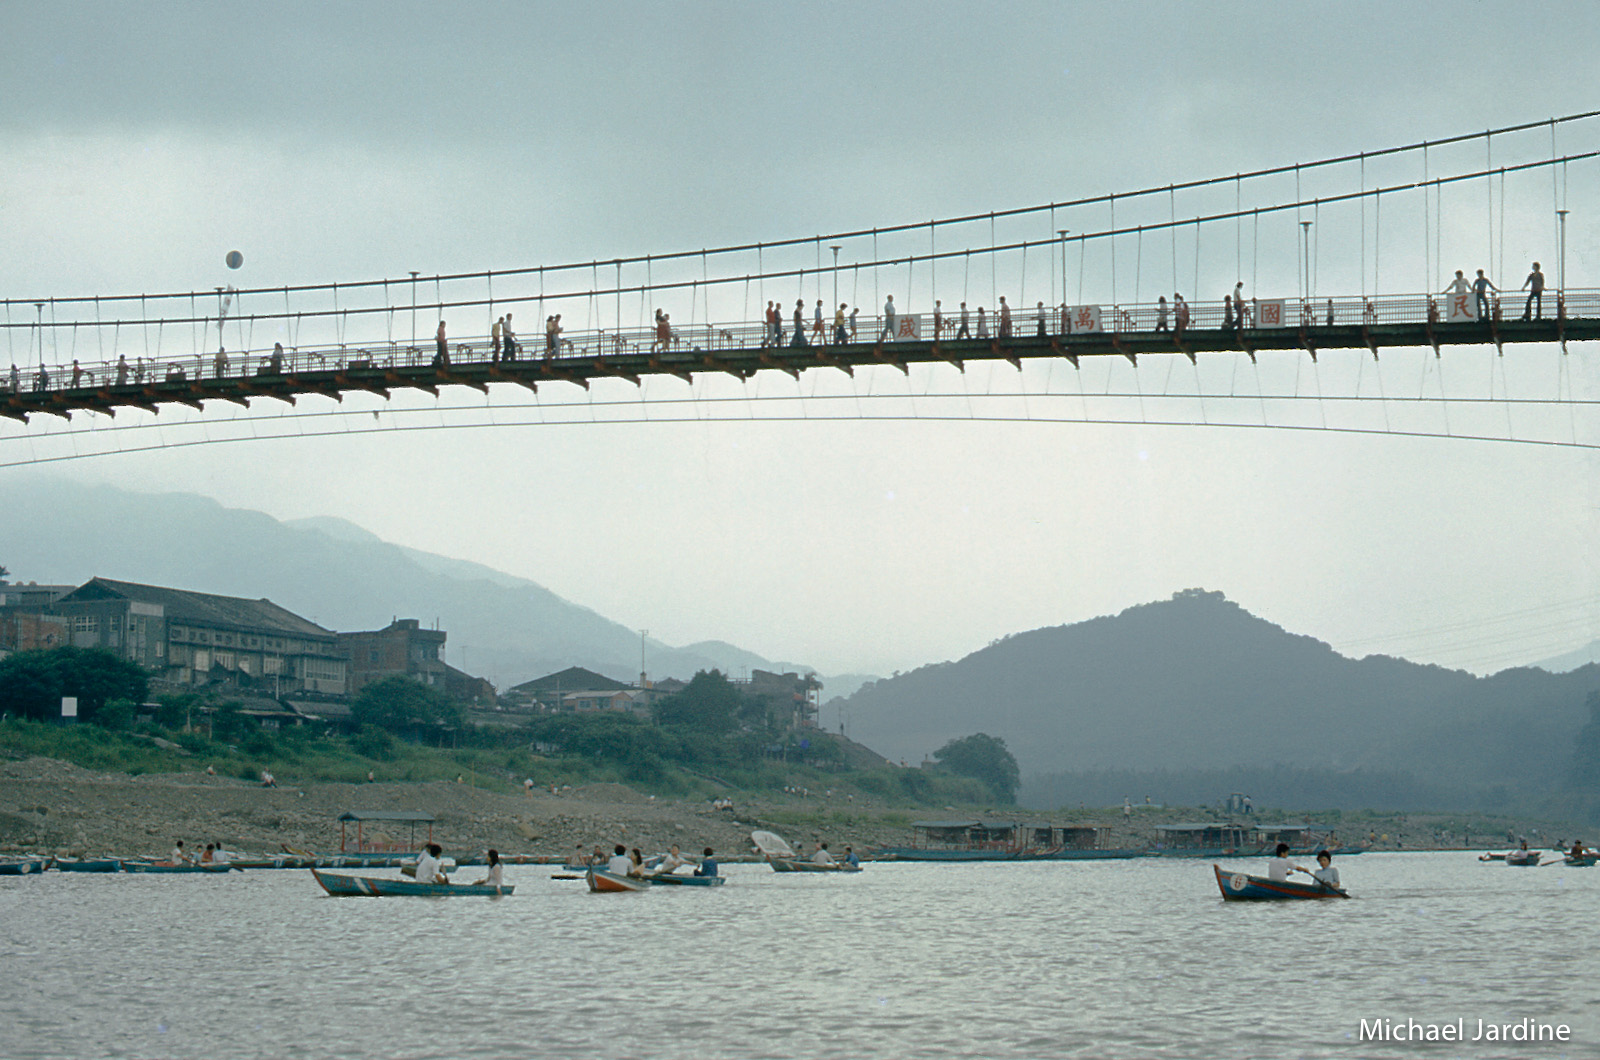
Where Digital iCE worked the best
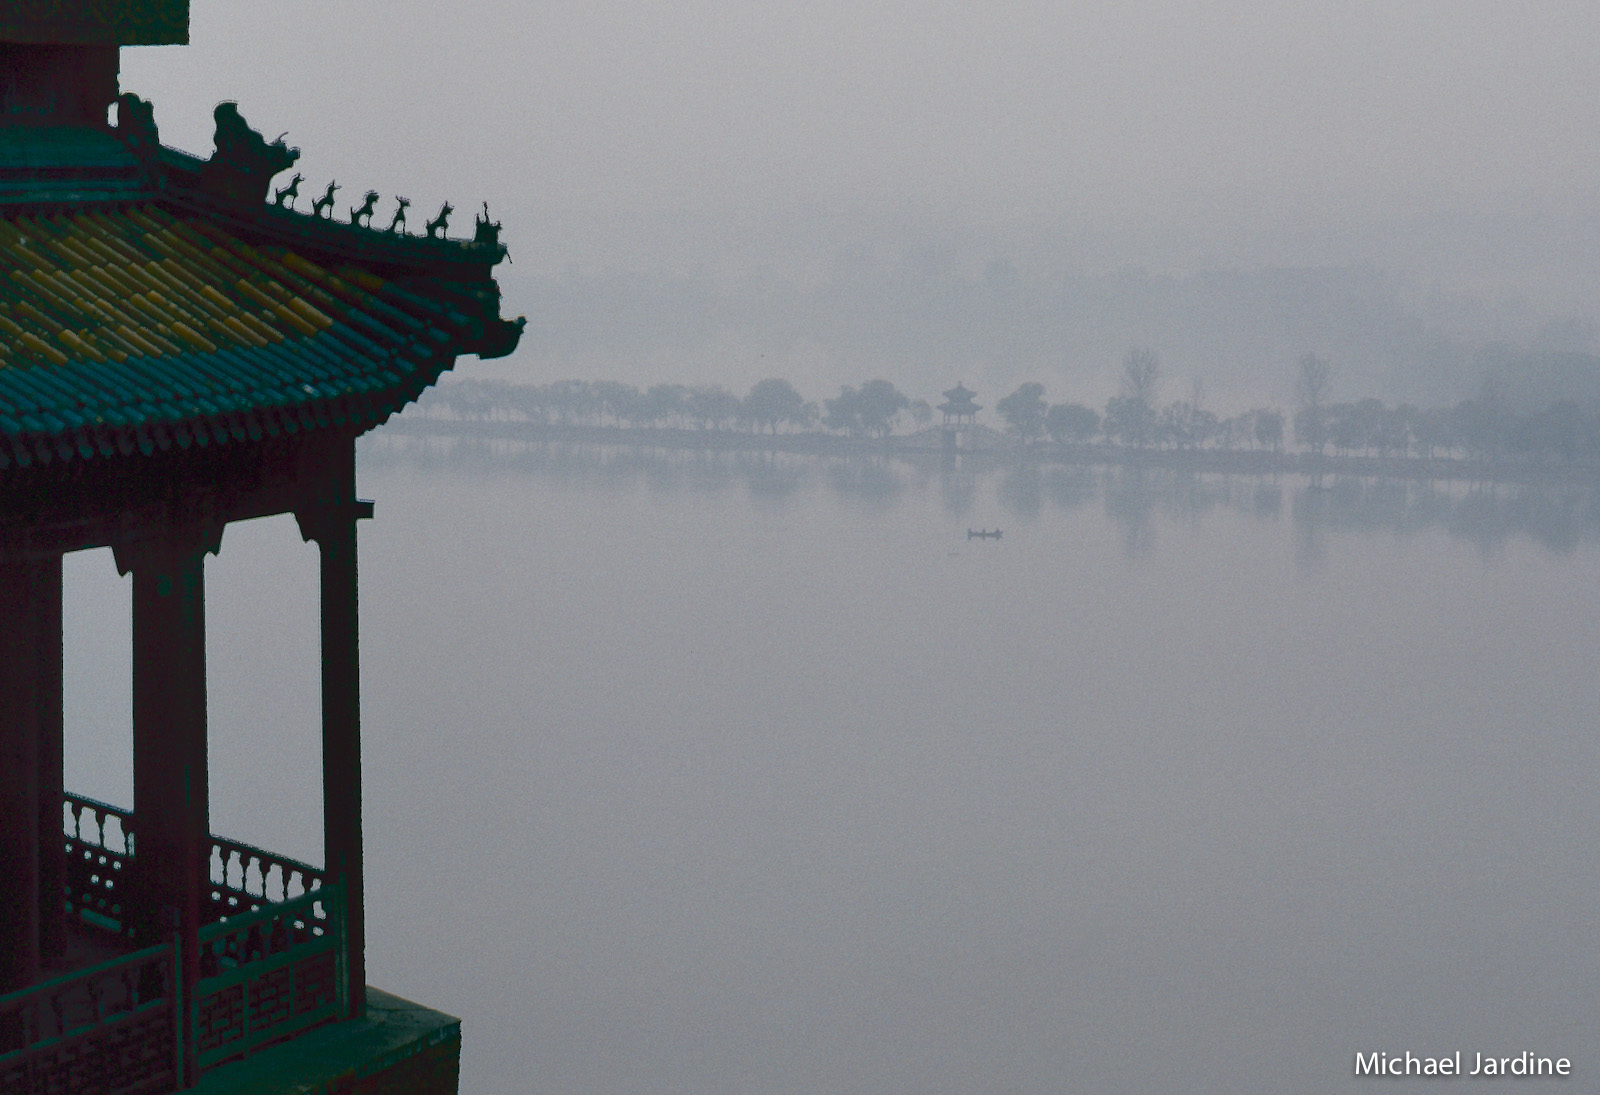
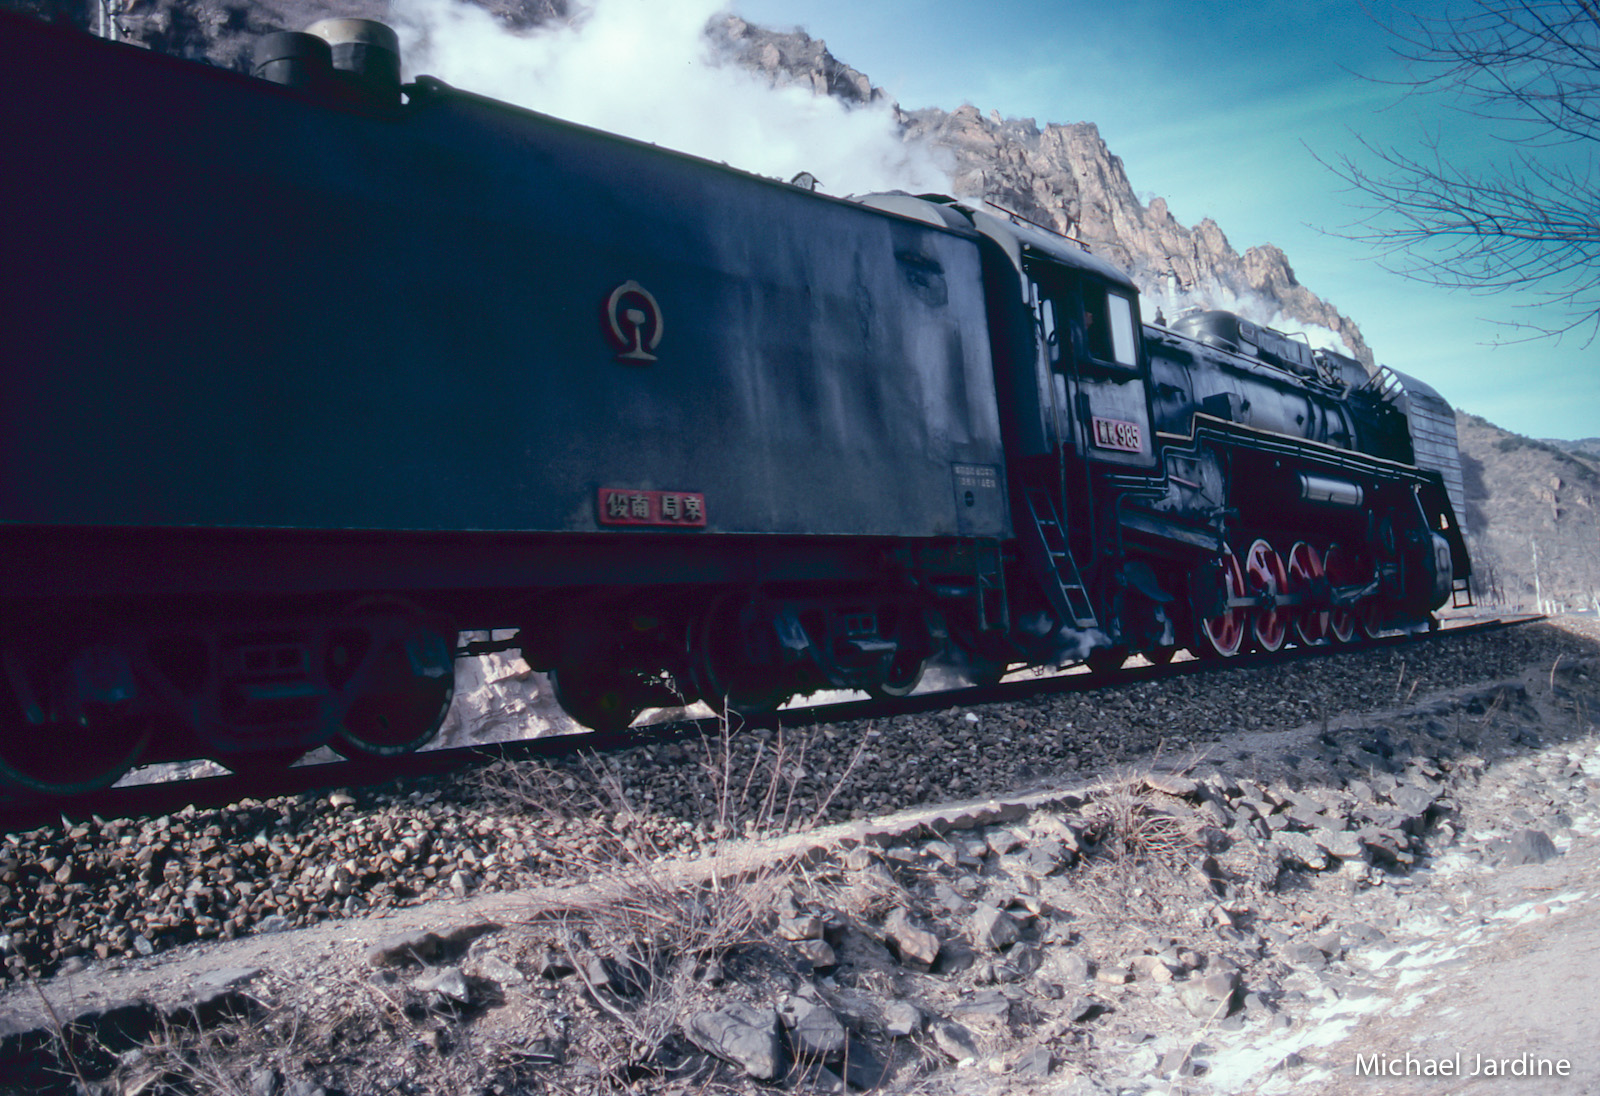
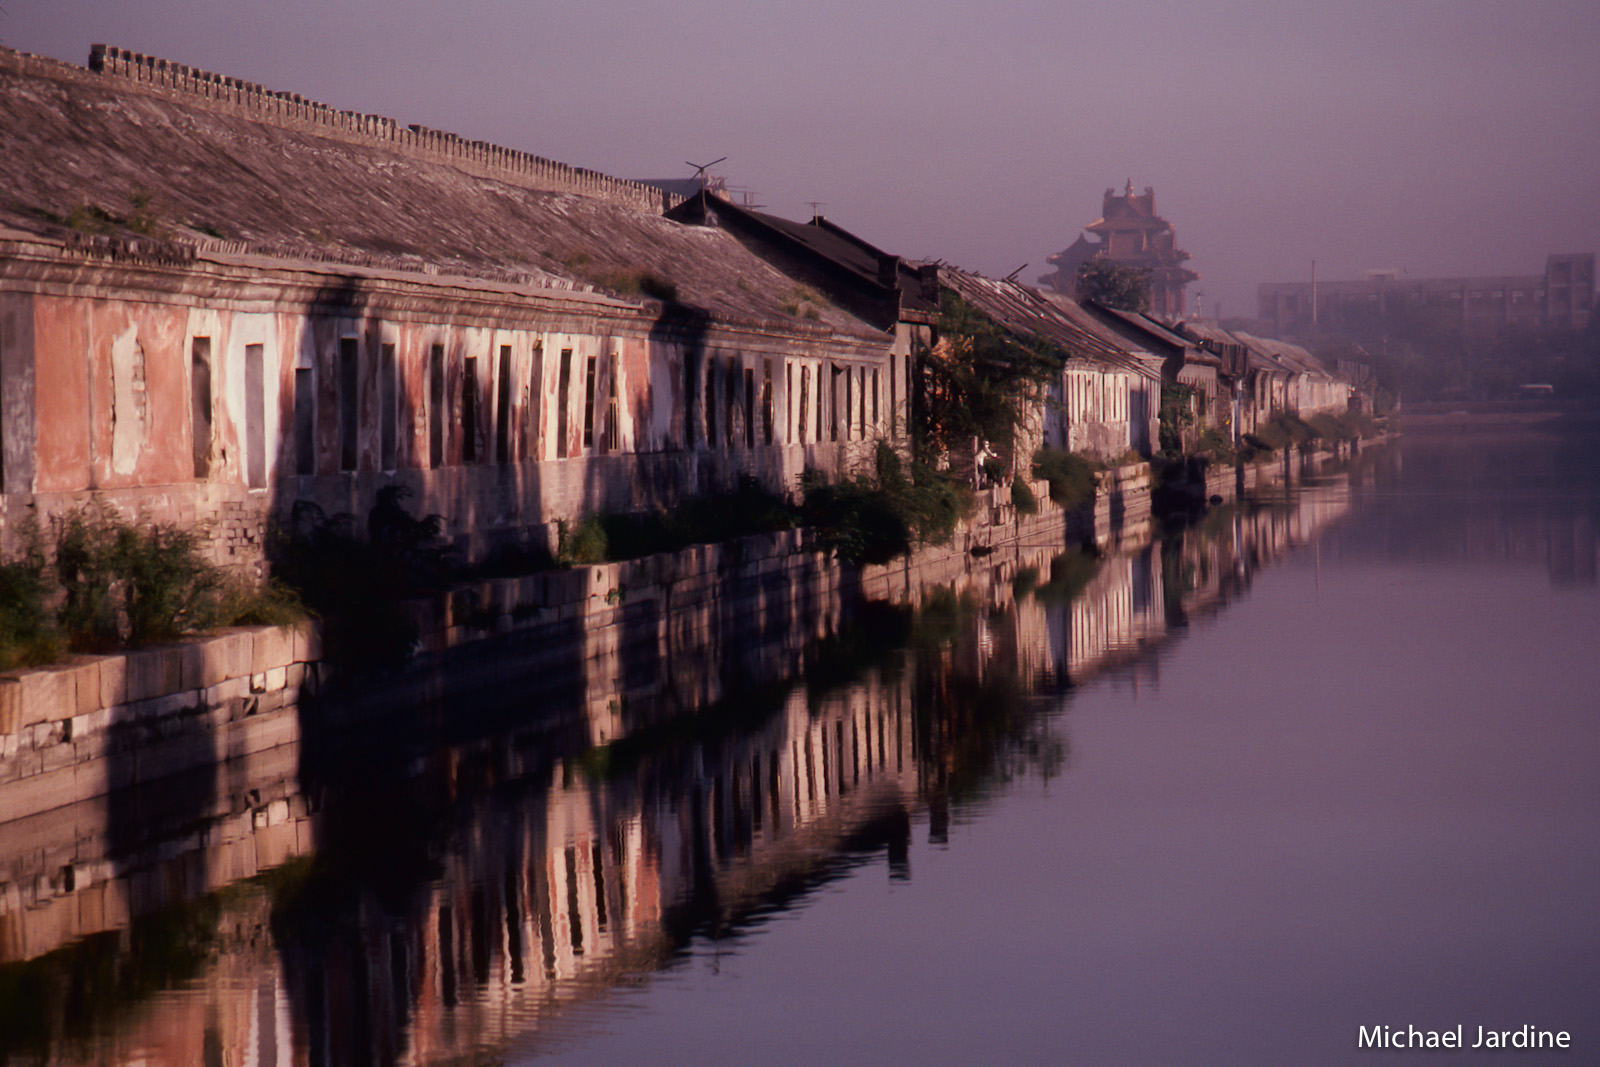
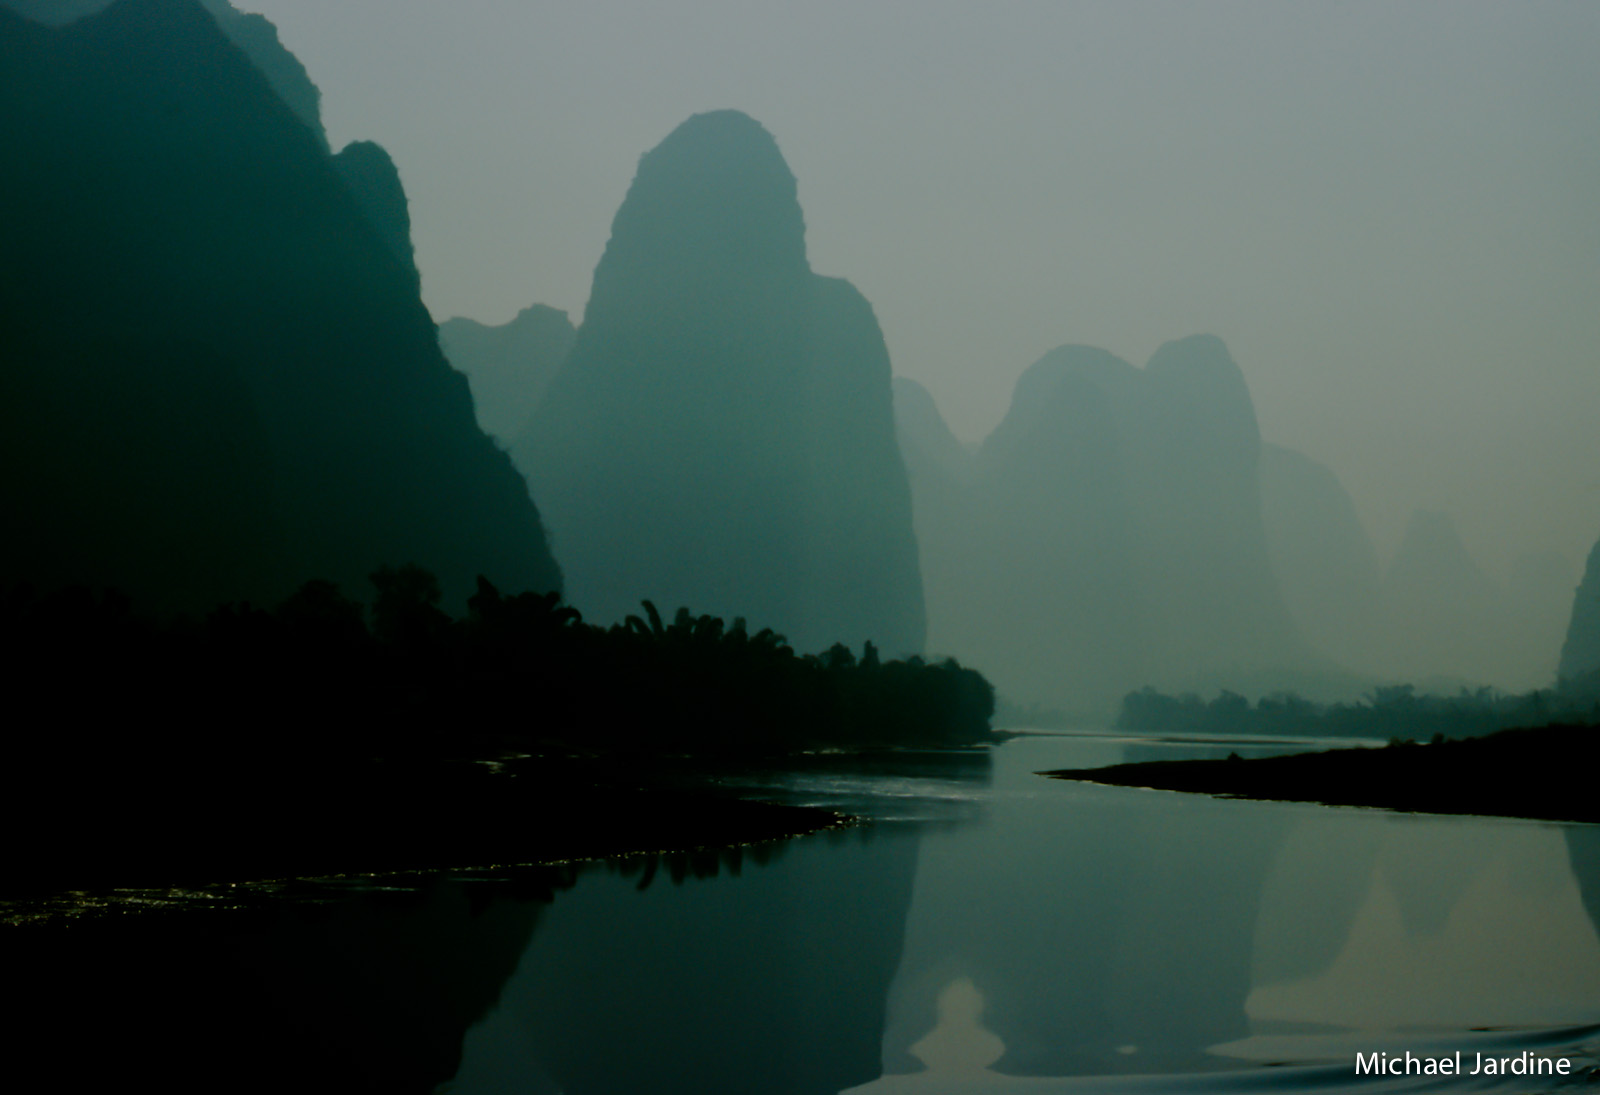
Some "Nice" scans
(You can click on one to enlarge, then just scroll through with your left/right arrows.)


